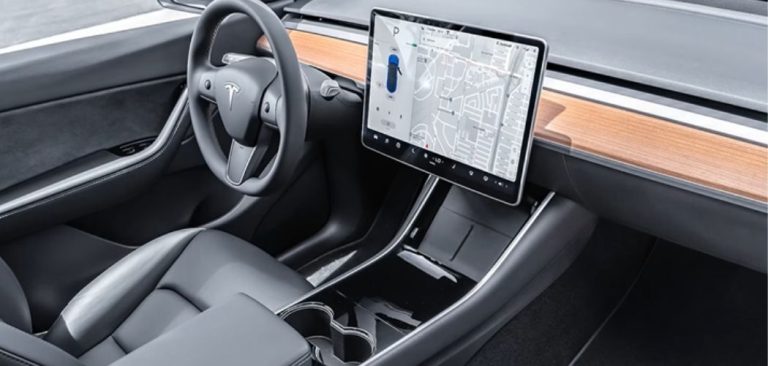
Car interior decoration is not just a superficial cleaning task; it represents a commitment to preserving a vehicle’s longevity, appearance, and overall comfort. My comprehensive guide discusses the essential aspects of car interior decoration, providing insight and practical strategies for enthusiasts and everyday car owners who want to maintain a clean and inviting cabin environment.
By understanding the benefits, using the right tools, following a detailed cleaning process, and adopting effective maintenance habits, individuals can unlock the secrets of a well-groomed car interior.
Top Benefits of Regular Car Interior Dressing
Regular car interior dressing offers a multitude of advantages that extend far beyond mere aesthetics. These benefits can be broadly categorized into material preservation and long-term cost savings, both of which contribute significantly to the overall value and enjoyment of a vehicle.
Material Preservation
Interior dressing protects surfaces like leather, vinyl, plastic, and fabric from stains, spills, UV rays, and daily wear. It forms a barrier that keeps dirt out and prevents fading, cracking, and brittleness. Conditioners keep materials nourished and flexible, especially leather, which can dry and crack over time. Regular use also reduces friction-based damage from dust and debris, while enhancing stain resistance for carpets and upholstery.
Long-Term Cost Savings
Maintaining your car’s interior helps avoid expensive repairs or replacements, like fixing cracked leather or reupholstering seats. A clean, well-kept interior also boosts resale value and makes your car more appealing to buyers. Interior dressing cuts down on deep-cleaning needs and prevents stains from setting, saving time and detailing costs. It also supports your vehicle’s systems, like the HVAC, by keeping vents clean and functioning efficiently.
Top 10 Benefits of Regular Car Interior Dressing
| Benefit | Material Preservation | Long-Term Cost Savings |
|---|---|---|
| Upholstery Protection | Prevents stains, wear and tear, and UV damage, extending lifespan and improving appearance. | Avoids expensive replacement of stained or damaged seat coverings. |
| Surface Protection | Shields wood, plastic, leather, and fabric from fading and grime accumulation, maintaining their original condition. | Reduces the likelihood of needing to replace faded or damaged interior trim pieces. |
| Reduces Wear & Tear | Protects against UV rays, dirt, dust, stains, and water, slowing down the deterioration of interior finishes and fabrics. | Lowers long-term repair costs by preventing premature wear and the need for component replacements. |
| Lasting Cleanliness | Makes cleaning easier by creating a barrier that allows for quick removal of dirt and debris, also keeping allergens at bay. | Potentially reduces the frequency of professional detailing services. |
| Maintains Resale Value | A well-protected interior is more attractive to buyers, indicating good overall care and potentially commanding a higher price. | Maximizes the return on investment when selling or trading in the vehicle. |
| UV Protection | Inhibits fading, cracking, and brittleness of interior materials caused by sun exposure. | Prevents costly damage to dashboards, seats, and door panels from prolonged sun exposure. |
| Prevents Drying & Cracking | Conditions leather and vinyl, maintaining their suppleness and preventing them from becoming brittle and cracking. | Avoids the expense of repairing or replacing cracked leather or vinyl upholstery. |
| Stain Resistance | Creates a barrier that repels liquids and prevents stains from setting into upholstery, carpets, and floor mats. | Reduces the need for professional stain removal services and prevents permanent damage to interior surfaces. |
| Enhances Aesthetics | Restores the natural gloss and luster of interior surfaces, improving the overall appearance and making the car feel newer. | Contributes to a sense of pride in ownership and can make the vehicle more appealing, potentially reducing the desire for premature upgrades. |
| Prolongs Material Life | By protecting against various damaging factors, regular dressing significantly extends the lifespan of all interior components. | Delays the need for costly replacements of interior parts, representing a significant long-term saving. |
Essential Tools for Car Interior Dressing
Achieving a professionally dressed car interior requires the right set of tools. These tools range from basic essentials to specialized equipment that can enhance the cleaning and dressing process. Having the appropriate arsenal ensures efficiency, effectiveness, and the preservation of the vehicle’s interior surfaces.
Must-Have Tools for Every Car
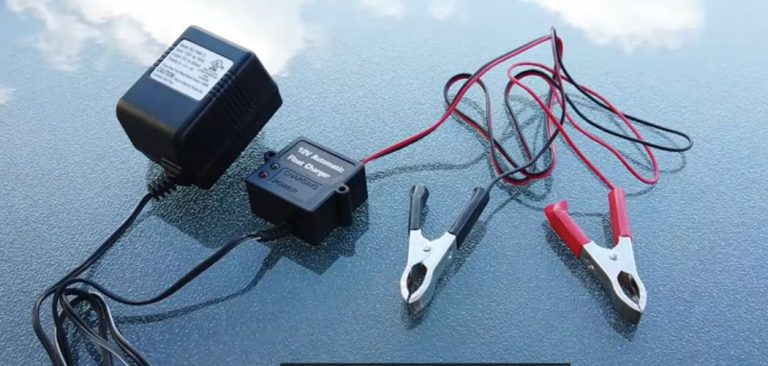
To start, every car owner should have a few key tools: a vacuum cleaner, microfiber towels, interior cleaning brushes, spray bottles, and a reliable interior cleaner. A vacuum (preferably wet/dry) helps remove dirt and debris from carpets, seats, and tight crevices.
Microfiber towels are essential for wiping, dusting, applying products, and drying without scratching. Brushes in various sizes and bristle types clean surfaces and reach into tight spots like vents and seams. Spray bottles are used to apply cleaners and dressings—labeling them clearly is important for organization and safety. A good pH-balanced interior cleaner that’s safe for multiple surfaces rounds out the basic kit.
Budget-Friendly Alternatives and DIY Options
For those on a budget, household tools can be used effectively. A home vacuum with attachments can substitute for a car vacuum. Basic microfiber towels work well, and even old t-shirts can help in a pinch. Toothbrushes, paintbrushes, and cotton swabs make useful detailing brushes. Cleaned-out spray bottles can be reused for products, and DIY cleaning solutions using vinegar, dish soap, or baking soda can tackle light stains—just test on a hidden area first.
Specialty Tools for Enhanced Cleaning
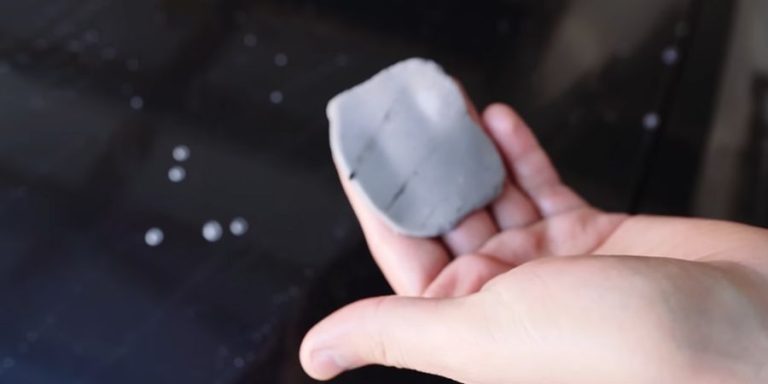
For deeper cleaning, specialty tools offer pro-level results. Steam cleaners and carpet extractors are great for sanitizing and lifting stains from fabric and carpets. Air compressors can blast dust from vents and narrow spaces. Clay bars help remove embedded grime from plastic and vinyl surfaces.
Advanced tools like the Tornador gun clean efficiently using compressed air. Plastic razor blades safely remove stickers without scratching. Grit guard buckets prevent dirt from re-contaminating mats during washing. LED detailing lights reveal hidden dirt in dark areas, and detailing gel or putty lifts dust from small crevices like buttons and seams.
13 Essential Tools List for Car Interior Dressing
| Tool | Description | Variations/Alternatives | Budget Option | Specialty Use |
|---|---|---|---|---|
| Vacuum Cleaner | Removes loose dirt and debris from all interior surfaces. | Wet/dry vacuum for spills, portable car vacuum for convenience. | Household vacuum with attachments. | Essential first step for all detailing. |
| Microfiber Towels | Used for dusting, wiping, applying products, and drying. | Different weaves and thicknesses for specific tasks (e.g., glass, buffing). | Affordable multi-packs; old, clean t-shirts (less ideal). | Versatile for almost every step. |
| Interior Cleaning Brushes | Various sizes and bristle types for different surfaces and tight spots. | Soft, medium, stiff bristles; angled brushes. | Old toothbrushes, paintbrushes, cotton swabs. | Reaching crevices, air vents, and textured surfaces. |
| Spray Bottles | For diluting and applying cleaning solutions. | Different sizes and spray patterns. | Reused household spray bottles (cleaned and labeled). | Applying cleaners, dressings, and water. |
| Interior Cleaner | pH-balanced cleaner safe for various interior materials. | All-purpose cleaners, material-specific cleaners (leather, fabric, plastic). | DIY solutions (vinegar, baking soda, dish soap - test first). | General cleaning of all interior surfaces. |
| Steam Cleaner | Deep cleans and sanitizes with minimal moisture. | Handheld or full-sized models. | N/A | Upholstery, carpets, stubborn stains, sanitizing. |
| Carpet Extractor | Applies and extracts cleaning solution from carpets and upholstery. | Professional-grade or smaller portable units. | N/A | Deep cleaning carpets and fabric seats. |
| Air Compressor with Air Gun | Blows dust and debris from hard-to-reach areas. | Various sizes and power levels. | Canned compressed air. | Vents, crevices, under seats. |
| Detailing Clay Bar Kit | Removes embedded contaminants from smooth interior surfaces. | Synthetic or natural clay bars, with lubricant. | N/A | Dashboards, door panels. |
| Tornador Cleaning Gun | Uses compressed air for powerful cleaning action. | With or without a solution tank. | N/A | Deep cleaning various surfaces. |
| Plastic Razor Blades | Safely removes stickers and adhesive residue. | Different sizes and shapes. | Credit card or similar thin plastic edge (use with caution). | Removing unwanted adhesives. |
| Grit Guard Buckets | Traps dirt during the washing of floor mats. | Standard 5-gallon buckets with grit guards. | Two separate buckets without grit guards (less effective). | Cleaning removable floor mats. |
| LED Auto Detailing Light | Provides illumination for detailed cleaning in low-light areas. | Corded or battery-powered. | Flashlight or work light. | Under seats, in the trunk, engine bay. |
| Detailing Putty/Gel | Lifts dust and debris from small crevices. | Various brands and formulations. | N/A | Air vents, seams, intricate areas. |
The Art of the Interior Clean: A Comprehensive Step-by-Step Guide
Cleaning a car’s interior effectively involves a systematic approach that ensures all areas are addressed and no step is overlooked. A top-down methodology, combined with specific techniques for different surfaces and problem areas, will yield the best results.
Preparation is Key: Initial Steps for a Successful Detail
Start by removing all trash and personal items from the car and store them in bags. Remove floor mats and seat covers for separate cleaning. If available, use an air compressor to blow out loose dirt before vacuuming. Opening all doors improves access and ventilation.
Methodical Cleaning: A Top-Down Approach
Headliner:
Use a damp microfiber cloth and gentle upholstery cleaner to blot, not scrub, the headliner. Always test cleaners on hidden spots first.
Doors:
Wipe panels and trim with an all-purpose cleaner. Focus on handles, buttons, and use brushes for tight spots. Clean door jambs and sills too.
Dashboard & Console:
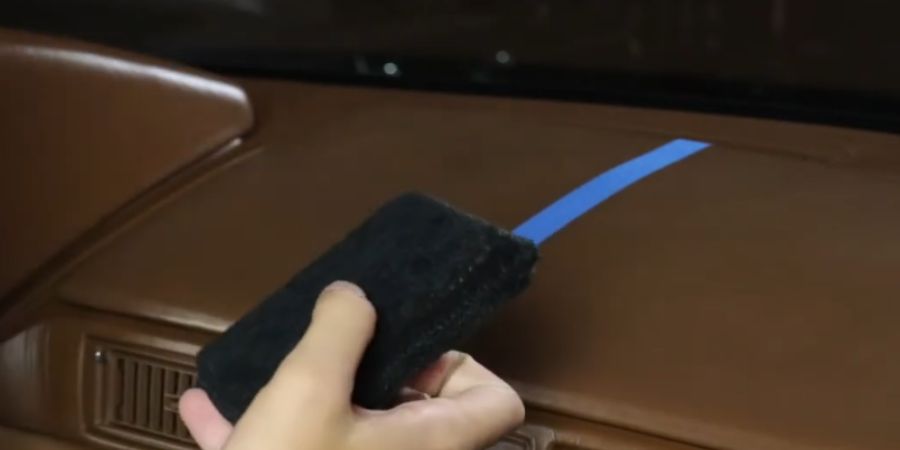
Dust with a microfiber cloth, then clean using a surface-safe cleaner. Use brushes or cotton swabs for corners. Avoid shiny products on steering wheels and pedals. Clean infotainment screens with touchscreen-safe products.
Seats:
Vacuum thoroughly, reaching under and between cushions. Use fabric cleaner or a DIY mix for cloth seats, and dedicated products for leather seats. Carpets: Vacuum well, then use a carpet or steam cleaner for deeper stains. Ensure carpets dry fully to prevent mold.
Interior Windows:
Use an ammonia-free glass cleaner and microfiber towels. Clean in different directions on each side to spot streaks easily. Don’t forget mirrors.
Targeting Trouble Spots: Detailed Techniques for Specific Areas
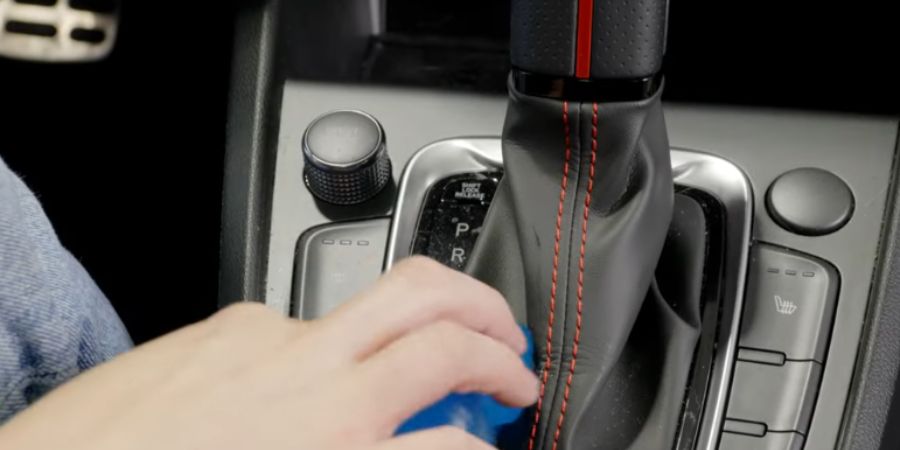
Crevices:
Use compressed air, brushes, toothpicks, swabs, or a microfiber cloth on a thin stick to clean tight spaces. Steam cleaners with narrow nozzles also work well.
Stubborn Stains:
Blot spills immediately. Match stain type with the right cleaner—vinegar solutions, baking soda, dish soap, or commercial products. For oil stains, absorb with baking soda first. Use nail polish remover (non-acetone) cautiously for ink on leather. For persistent stains, professional detailing may be necessary.
My Tips for a Long-Lasting Pleasant Car Smell
Maintaining a fresh and pleasant smell inside your car is an ongoing effort that goes beyond simply using air fresheners. By addressing the root causes of odors and adopting certain habits, you can enjoy a consistently inviting cabin environment.
Natural Odor Eliminators
Start by removing trash and vacuuming thoroughly, especially under seats and floor mats where odor-causing debris often hides.
Sprinkle baking soda on carpets and seats, let it sit overnight, then vacuum to neutralize odors. For persistent smells, leave an open container of baking soda or activated charcoal in the car. Coffee beans or grounds can also act as natural deodorizers.
Unlit scented candles, dryer sheets, cedar sachets, or orange peels under the seats offer a subtle, pleasant aroma. Essential oil vent diffusers provide a continuous fragrance. White vinegar in a bowl overnight can also help eliminate tough odors—just air out the car afterward.
Practical Habits for a Fresh Cabin
Clean spills immediately, avoid eating in the car, and open windows regularly to circulate air. Keep air vents clean and replace the cabin air filter routinely for better air quality.
Avoid smoking, dry wet items promptly, and park in the shade to reduce odor buildup. Using floor mats and seat covers can help prevent odor-absorbing messes. For deep-rooted smells, professional detailing is a worthwhile investment.
Additional Tips
- Clean air vents with a soft brush or compressed air.
- Replace the cabin filter every 12,000–15,000 miles.
- Use bamboo charcoal bags, refreshing them in sunlight monthly.
- Tuck scented sachets under seats or in storage areas.
- Use car-friendly essential oil diffusers for customizable scents.
Timing is Everything: Determining the Optimal Frequency for Car Interior Dressing
The frequency with which you should detail your car’s interior depends on a variety of factors, primarily related to how the vehicle is used and the conditions it is exposed to. There is no one-size-fits-all answer, as different lifestyles and habits will necessitate different cleaning schedules.
Tailoring to Your Lifestyle: Recommendations Based on Usage
- Daily Commuters: Monthly interior detailing is recommended, with quick weekly wipe-downs and vacuuming to maintain cleanliness.
- Families with Kids and Pets: Deep cleaning every 2–4 weeks is ideal, with weekly vacuuming and spot cleaning to handle spills, crumbs, and pet hair.
- Pet Owners: Weekly vacuuming and immediate cleanup of accidents are essential. Regular deep cleanings help control hair and odors.
- Beachgoers & Outdoor Adventurers: Detail every 3–4 weeks to remove sand, sweat, and mud.
- Low-Mileage Drivers: Detailing every 3–6 months may be sufficient.
- General Recommendation: Detail your car’s interior at least once every six months.
Harsh Climates or Polluted Areas: Increase frequency to every 2–4 months to combat environmental wear and tear.
How to Select the Best Car Interior Cleaning and Dressing Products?
Choosing the right car interior cleaning and dressing products is essential for achieving the desired results without causing damage to the various materials inside your vehicle. A careful consideration of several factors will help you make informed decisions.
Decoding Product Labels: Understanding Key Factors
Select products based on the interior materials—leather, fabric, vinyl, plastic, or rubber—and ensure compatibility. Multi-purpose cleaners that clean, condition, and protect can simplify maintenance.
Prioritize ease of use with clear instructions and user-friendly applications. Choose scents that suit your preference or go for unscented options. Products with UV inhibitors offer added protection against fading. For a safer and eco-friendly choice, consider non-toxic or low-VOC formulations. Always check user reviews to understand real-world performance, scent, and overall satisfaction.
Material Matters: Choosing Compatible Products
- Leather: Use gentle leather-specific cleaners and conditioners to prevent drying or cracking.
- Fabric: Opt for upholstery cleaners that lift stains without damaging fibers.
- Plastic & Vinyl: Choose UV-protectant cleaners designed for these materials; avoid harsh degreasers.
- Glass & Screens: Use ammonia-free glass cleaners to avoid damaging tints or coatings.
Health and Safety: Considering VOC Content
To maintain good air quality inside your car, go for low-VOC or water-based products. These are safer for both your health and the environment, especially in enclosed spaces.
The Voice of Experience: Leveraging User Reviews
Check reviews from fellow car owners and professionals to learn about product effectiveness, ease of use, and scent. Balanced feedback can help identify the best options and avoid common pitfalls.
Quick Checklist: What to Look For
- Material Compatibility
- Multi-functionality
- Ease of Use
- Scent Preference
- UV Protection
- Low VOCs
- User Ratings & Brand Reputation
- Value for Money
- Targeted Solutions (leather, fabric, dashboard, etc.)
Advanced Techniques for Professional-Quality Detailing at Home
While basic car interior dressing can significantly improve the appearance and cleanliness of your vehicle, employing advanced techniques used by professional detailers can elevate the results to a showroom-worthy finish. These methods often involve a more meticulous approach and the use of specialized tools and products.
Pro Secrets for a Showroom Finish
- Two-Bucket Method for Floor Mats: Prevent reintroducing dirt by using separate buckets for wash and rinse water when cleaning mats.
- Top-Down Cleaning Strategy: Start from the headliner and finish with carpets to avoid re-contaminating cleaned areas.
- Compressed Air for Crevices: Use compressed air to blow debris from vents, seams, and tight spaces before vacuuming.
- Agitate Before Vacuuming: Loosen dirt in carpets and upholstery using a stiff brush while vacuuming.
- Drill Brushes & Extractors: Speed up mat scrubbing with drill-mounted brushes; use a carpet extractor for deep cleaning of seats and carpets.
- Focus on Overlooked Areas: Clean door jambs, trunk seals, and rolled-down window edges for a thorough finish.
- Two-Towel Glass Method: Use one microfiber to apply cleaner and another dry towel to buff for streak-free windows.
- Protect Surfaces: Apply suitable dressings to leather, vinyl, and plastic to prevent UV damage and fading.
- Clay Bar for Hard Surfaces: For dashboards and trim, use a clay bar to remove embedded contaminants and enhance smoothness.
The Power of Steam Cleaning
Steam cleaners effectively sanitize upholstery, carpets, and plastic using minimal or no chemicals. Use soft attachments for fabric and precise nozzles for crevices. Always keep the steamer moving to avoid heat damage, especially on plastic. Avoid over-wetting the headliner and steer clear of electronics.
Ozone Treatment for Odor Elimination
To remove stubborn odors like smoke or mildew, use an ozone generator after cleaning the interior. Ensure the car is unoccupied during treatment and ventilated afterward. Running the A/C in recirculation mode can help the ozone reach the HVAC system. Always follow safety guidelines. Chlorine dioxide tablets can also be used as an alternative odor eliminator.
Mastering Headliner Cleaning
Headliners are delicate—avoid scrubbing or soaking. Lightly blot with a damp microfiber cloth and mild upholstery cleaner or a vinegar-water mix. Never spray directly onto the surface. Let it dry completely and avoid vacuuming to prevent fabric separation.
Ventilation System Care
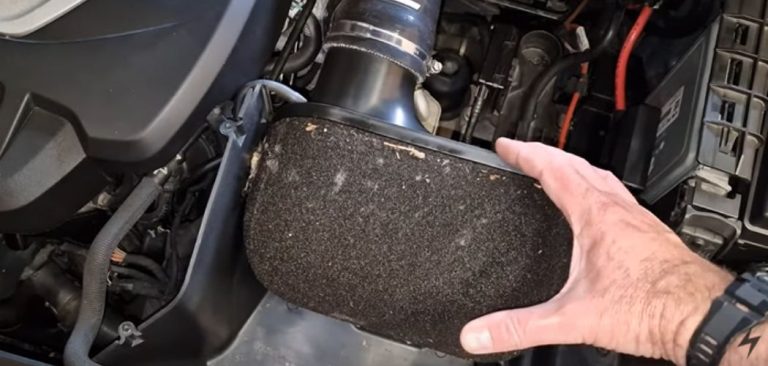
Use compressed air, brushes, or damp microfiber cloths to clean vent slats. For deeper cleaning, apply a specialized HVAC cleaner through the vents and air intake. Change the cabin air filter regularly, and consider a professional cleaning for full-system refresh.
Final Touch: Inspection Matters
After detailing, inspect all surfaces to ensure nothing is missed. A final walkthrough helps spot overlooked spots and ensures a professional-level finish.
Frequently Asked Questions
What is automotive detailing, and how does it differ from regular car washing?
Automotive detailing can take 4-8 hours depending on the condition of the car, whereas a regular car wash typically takes about 30 minutes to 1 hour. Detailing involves deep cleaning, polishing, and protecting surfaces that are missed in standard washes.
Why should I get my car detailed?
Detailing can increase a car’s resale value by up to 15-20%, depending on the vehicle’s condition. It also helps prevent wear and tear, preserving both interior and exterior surfaces for 1-3 years longer than without proper care.
How long does car detailing take?
Basic interior detailing takes around 1-2 hours, while a comprehensive detail, including both interior and exterior, can take anywhere from 4 to 8 hours, or up to 12 hours for larger or heavily soiled vehicles.
Can detailing remove all interior stains?
Detailers can remove most stains within 90-95% of the time, depending on the severity and age of the stain. Stubborn or older stains might be reduced by 50-70% but may not be completely removed without professional treatment.
What are the costs of car detailing?
The average cost for basic interior detailing ranges from $50-$150, while full-service detailing (interior and exterior) typically falls between $150 and $500. Premium services like ceramic coatings or paint correction can cost anywhere from $500 to $1,500.
Can car detailing help with pet hair removal?
Professional detailing can remove up to 95% of pet hair using specialized tools like pet hair removal brushes and vacuum attachments, significantly improving air quality and cleanliness for pet owners.
My Opinion
Regular car interior dressing not only keeps your vehicle clean but also protects surfaces from UV rays, dirt, spills, and wear, ultimately saving you money on repairs. By incorporating routine maintenance and the techniques in this guide, you can preserve your car’s upholstery, plastics, and leather.
Tailor your cleaning frequency to your needs—whether commuting, parenting, or outdoor adventures—to maintain a high resale value and avoid costly replacements. With the right tools, cleaning steps, and advanced techniques, you can achieve professional-quality results at home, ensuring your car remains fresh, comfortable, and inviting for years to come.